

An unofficial guide to block printing
Lessons from an amateur

Hey y’all,
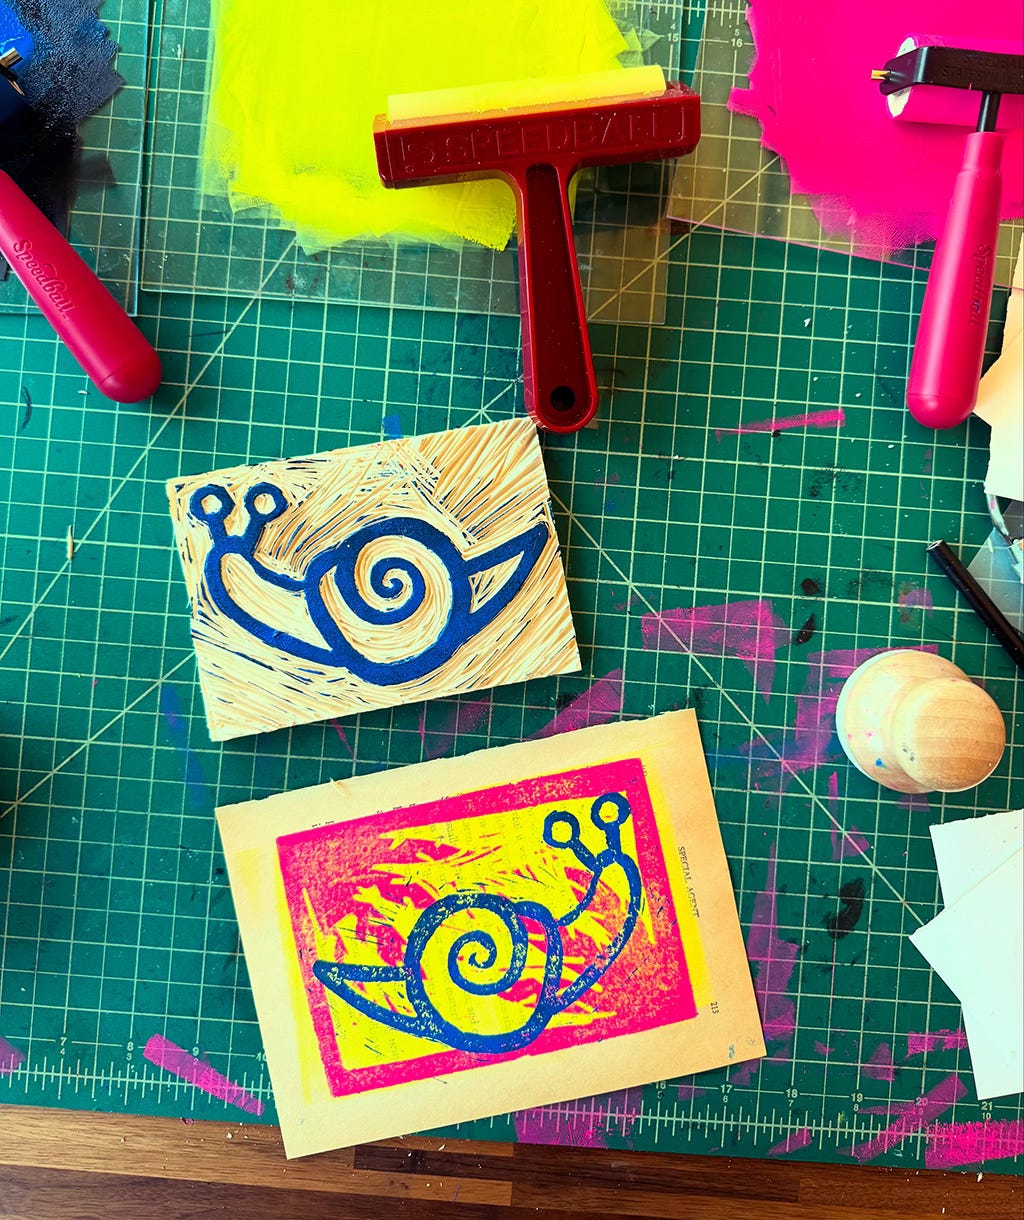
As I said in Friday’s newsletter, pretty much all I did over spring break was make block prints and listen to dub reggae.
Several folks asked how I do it, so I made a batch of videos to share. I learned a few of these tips in the workshop I took with Dana Tanamachi that I mentioned in my “Living Seasonally” newsletter.
I want to emphasize that I am a total amateur at this stuff, and I will miss a bunch that you can learn elsewhere in tutorials by more qualified people.
That said, I wrote a whole section in Show Your Work! about how there’s a lot of value in learning from beginners. Because beginners have only recently figured stuff out, they know what a beginner needs to know better than an expert does…
What you’ll need
If you’re brand new to block printing, Speedball makes a really handy beginner’s kit that includes:
a block to carve (these Speedy Cut blocks are soft and easy)
a lino handle with cutters to carve with
ink (water soluble cleans up easy)
a soft rubber brayer (I really like little ones for detail work)
I also recommend:
a soft, dark pencil
a baren (again, I prefer a little felt one for detail work)
some cheap paper to experiment — I particularly love to print on pages from the newspaper and old books that are falling apart
If you have a local art store, go there and ask them to fit you out — I went to Jerry’s Artarama here in Austin and they had all kinds of fun ink and other accessories that I didn’t know about.
Designing an image
In the past, I’ve been real shoot-from-the-hip with my prints, doing a quick doodle on the block and then just starting to carve. It’s much, much easier if you start with a design or a drawing, trace it onto tracing paper and then rub your tracing onto the block before you carve.
Carving the block
Keep reading with a 7-day free trial
Subscribe to Austin Kleon to keep reading this post and get 7 days of free access to the full post archives.